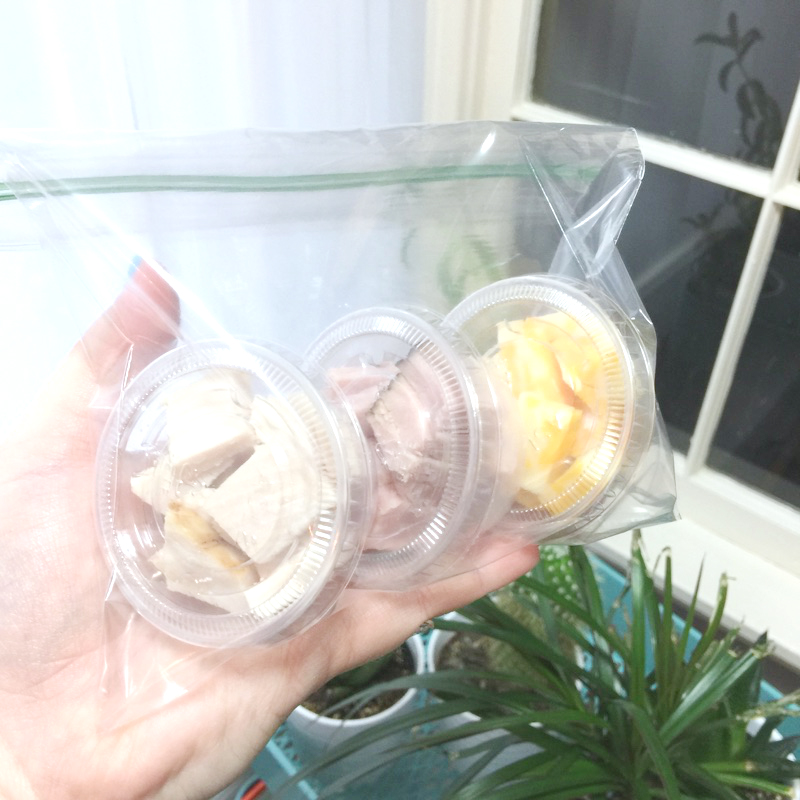
The other day, I purchased a protein pack from my local grocery store called P3. It had probably an ounce of turkey, ounce of cheese, and half ounce of turkey. I LOVED it, and since I have had weight loss surgery, it was the perfect amount for my tiny tummy. (I’m eating 2-4 ounces at a meal and snack. If you want to know more about my WLS journey, check it out here.)
As I was eating it, I just kept thinking two things. 1. I was thinking how DELICIOUS and simple it was! 2. I was thinking that I could chop up my own proteins and make a protein pack myself that would have healthier and better quality ingredients. So of course, I decided to try it out!

I’m so obsessed with how these turned out. Overall, they are lower in fat and carbs, around the same with calories and sodium, but with 3 more grams of protein! It is nice to have better ingredients as well. I picked brands that focused on health and natural/organic ingredients. Another PRO is that my version is 3 oz, but the pack is only 2.3 oz. So even though they have similar stats/calories- you get MORE with the homemade version.

How to Make DIY Protein Packs
- Get ingredients together. I used deli cut meat & cheese- 1/2 pound of each- colby-jack cheese, black forest ham, and oven roasted turkey, which made 8 packs. I had the employee cut it at a thickness of 5, which the chart at the deli said was perfect for cubing for salads. You could use roast beef, chicken, or any kind of cheese you prefer. Do your research and get what you like and what fits your macros! (You could also use 1/2 an ounce of nuts instead of one of these proteins as well, but I am not doing nuts until I’m at my goal weight.)
- Get to cubing! You probably wish this said “clubbing,” but alas, it says cubing! I chopped them up into about 1/2 inch cubes, but you can make them as big or little as you prefer.
- Use your scale. Weigh out each bit to make 1 ounce of each protein you are including.
- Separate into servings. I have a TON of condiment cups with lids from my first month or so after my VSG surgery, so I used these cups to keep them all separate, then I put them into baggies to make it easy to grab and go. You could mix them all together and put them into a snack-sized ziplock bag or into a small storage container if you prefer!
- Enjoy! As I mentioned above, I have them in quick grab bags so I can take them on the go. They are perfect for a meal if you are 2-5 months out of weight loss surgery, or as a snack for just about anyone.


